Eliminate Escapes Forever
In about a minute
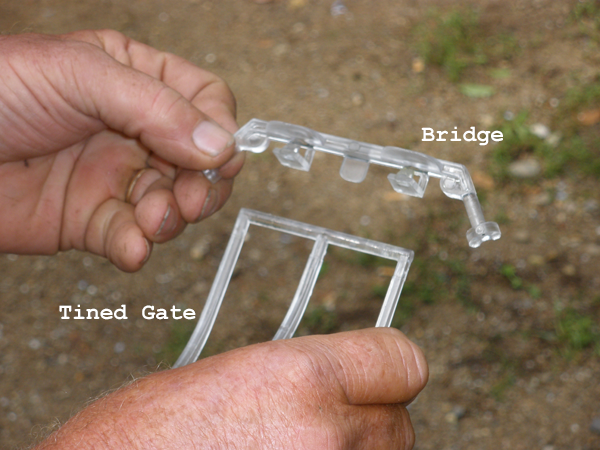
The Parts
The Hoop Gate is comprised of the Tined Gate and the Bridge.
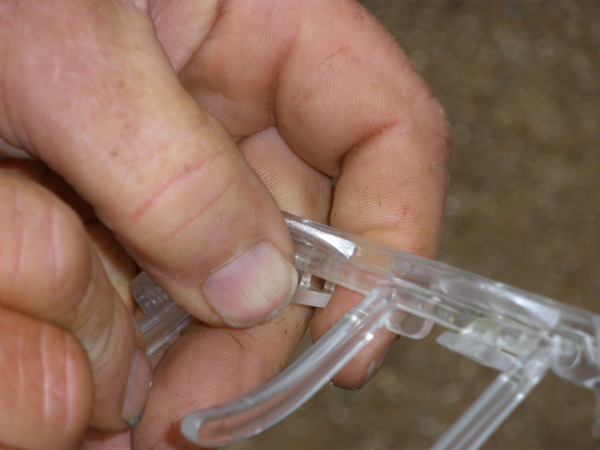
Attaching Tined Gate to the Bridge
The Tined Gate is snapped into the Bridge by lightly pushing the tabs with your thumb.
Important: make sure the ends of the Tined Gate bend toward you as you snap the Tined Gate into the Bridge (see picture).
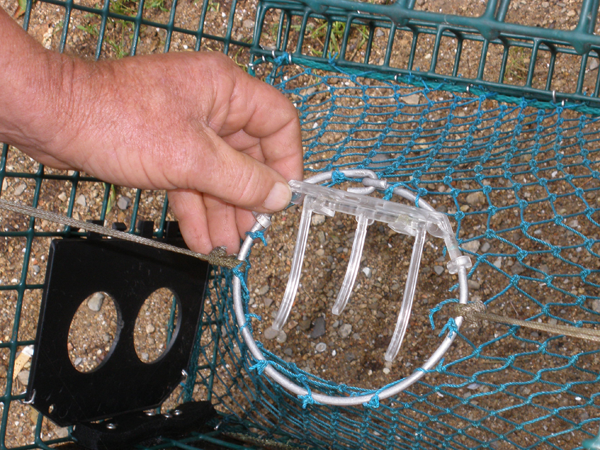
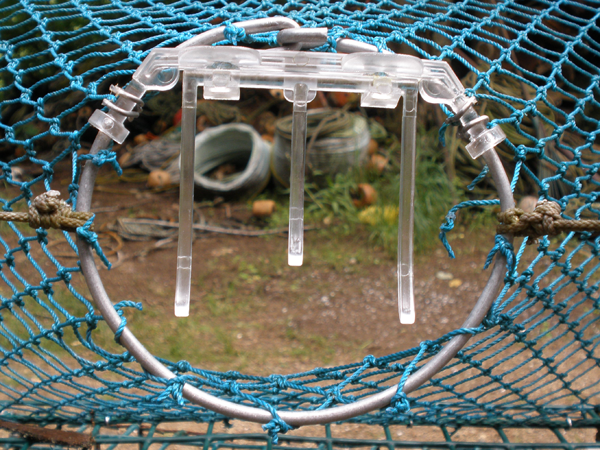
Line up the Hoop Gate with the hoop
The Hoop Gate is now ready to be installed on the hoop in the trap. Align the Hoop Gate onto the parlor hoop, as shown.
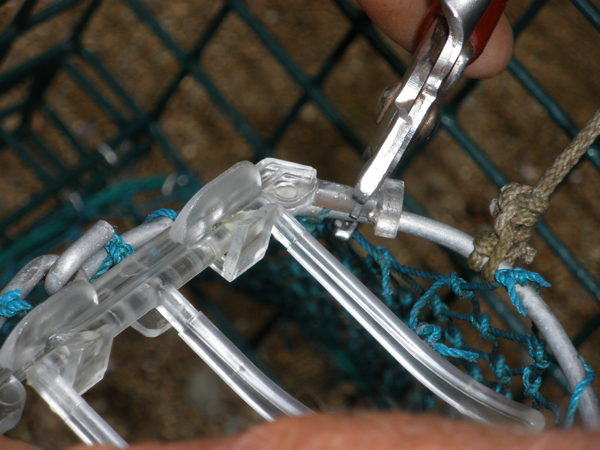
Secure the Hoop Gate to the hoop
The Hoop Gate is secured in place by using four aluminum* hog rings, which are supplied with the Hoop Gates when purchased.
* Do not use stainless steel hog rings as this may corrode the aluminum hoop.
Installation is now complete
The Hoop Gate is now completely installed and ready to use.